I assembled and built my first 3D printer from a Tevo Tarantula DIY kit. This post is the full parts list, the commissioning checklist I used before the first good print, and the CAD → slicer → SD-card path that turned an STL into plastic. Total parts cost was about $200; assembled weight about 8 kg; build and first clean sample print took 3–4 days.
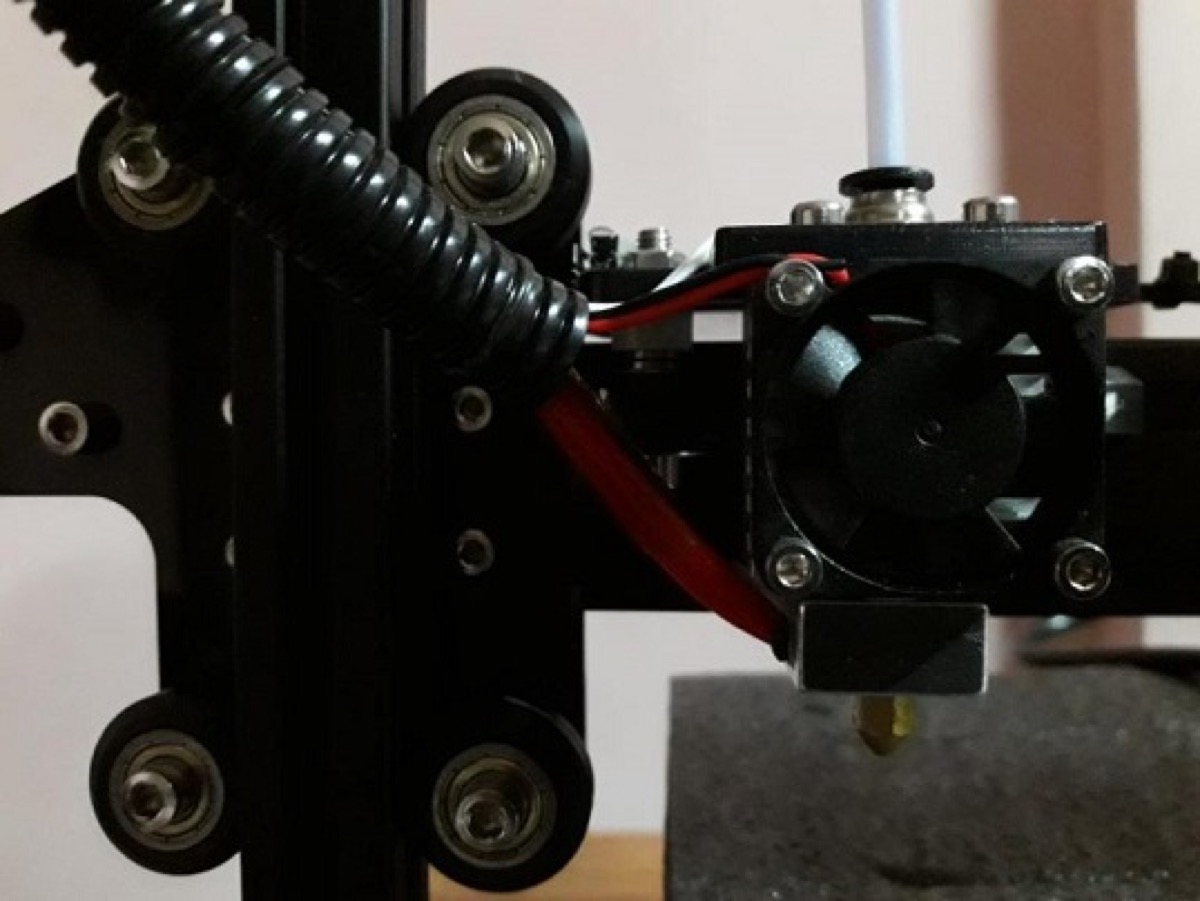
Kit contents
The Tarantula DIY kit supplied the following main parts:
- LCD display controller (main board & print control)
- 3 end-stop switches (X, Y, Z home / limit positions)
- 4 × NEMA 17 stepper motors
- Aluminium extruder with cooling fan for 1.75 mm filament
- Titan and standard extruder options
- Motherboard: RepRap RAMPS 1.4
- 30 mm fan for hot-end / nozzle cooling
- 40 mm fan for PCB / motherboard cooling
- GT2 belt for X & Y axes
- Coupler and lead-screw rod for Z axis
- Heat nozzle, PTFE tube, PTFE fittings (hot end and extruder)
- Heat-block wiring and other interconnects
- Heated bed (200 × 200)
- ABS & PLA filament
- 220 V → 12 V power conversion
- Aluminium frames, fasteners, nuts and bolts
Mechanical and electrical assembly instructions for this kit are widely available on YouTube; I followed those and then ran my own commissioning sequence before trusting a long print.
Commissioning before the first print
After the frame and electronics were together, these checks came before any “real” object:
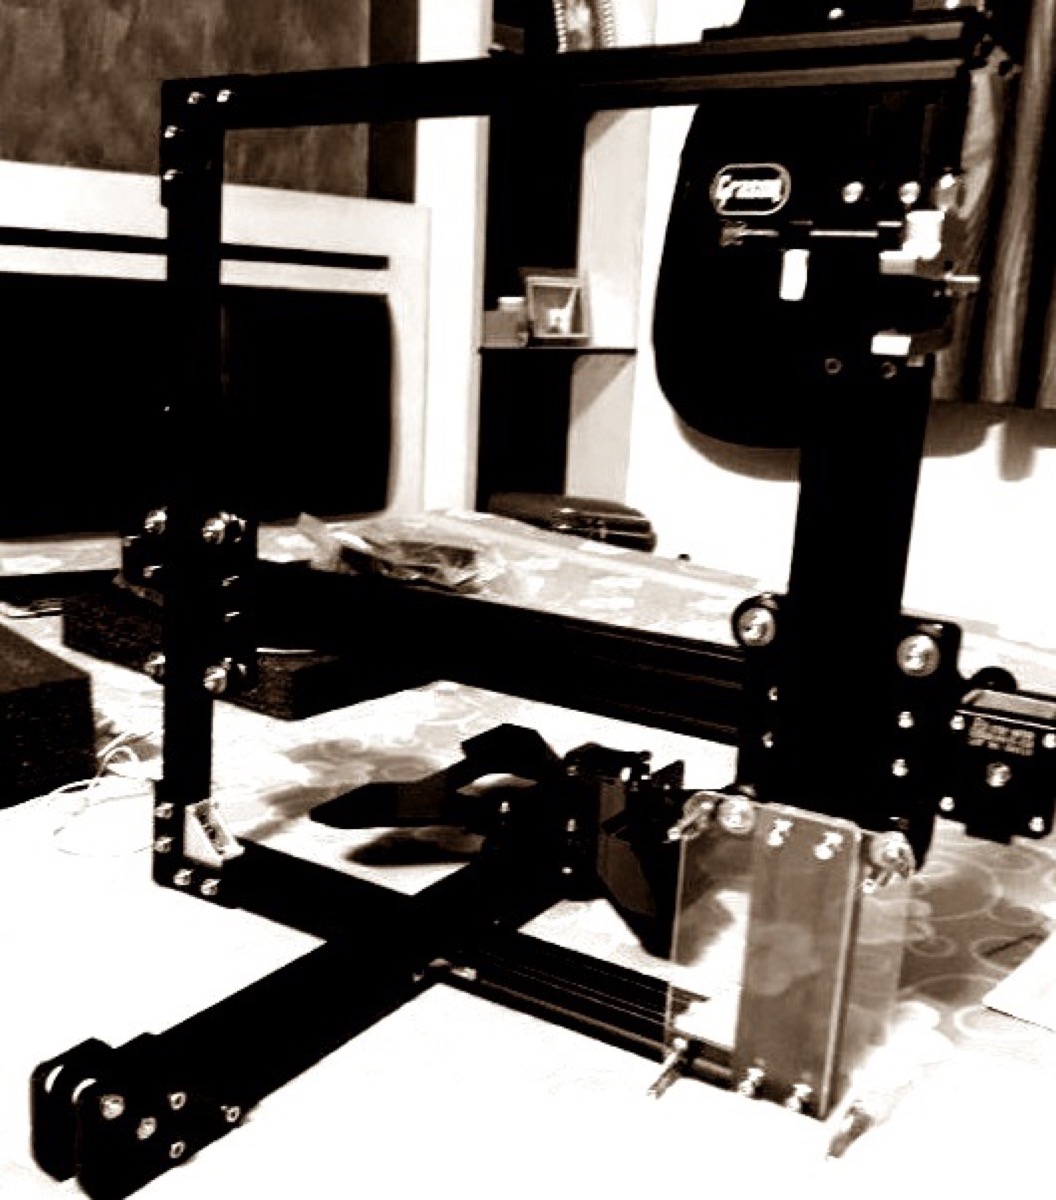
- Check movement of all stepper motors
- Move the nozzle freely through X, Y and Z
- Remove binding / noise; confirm free nozzle travel
- Pre-heat the bed to ~70 °C and the nozzle up to ~210 °C
- Level the bed — keep the nozzle-to-bed gap close to 1 mm at all check points
- Load filament and test extrusion by jogging the extruder from the LCD panel
- Design (or download) a 3D object in AutoCAD, Tinkercad, or any CAD tool
- Load the STL into Repetier Host (slicer — converts STL → G-code)
- Configure Repetier Host for this printer: shape, bed size, filament diameter, speeds, etc.
- Slice STL → G-code and save the file to an SD card
- Load the SD card into the LCD panel
- Start the print from the SD card
Software path: CAD → G-code → plastic
| Step | Tool | Output |
|---|---|---|
| Design | AutoCAD / Tinkercad / other CAD | STL |
| Slice | Repetier Host | G-code |
| Run | LCD + SD card on the printer | Printed part |
Repetier Host was the slicer I used for this build: printer geometry, bed size, filament size and speed settings all have to match the Tarantula before the G-code is trustworthy.
Cost, weight, timeline
| Parts cost | ~ USD 200 |
| Assembled weight | ~ 8 kg |
| Assembly + first good sample | 3–4 days |
Watch a live print
Original video from the build (also on my YouTube channel):
References
- Tags from the original post:
#3D printer·#Gcode·#CAD - Related on this site: Meet my 3018 RPi-controlled CNC machine — the next hardware step in the same workshop arc
This piece was first published on 25 March 2018 as Meet My Live DIY 3D Printer, and is carried here under Technology as part of the digital journey archive.
Filed under
- 3D printer
- G-code
- CAD
- RepRap
- DIY
- Hardware