This post is how I converted an old Raspberry Pi into an Amazon Echo Dot–like device using Alexa Voice Service (AVS). The goal was a voice front-end for home-automation IoT work — news, weather, time, general Q&A — not a music appliance. Amazon Music does not work on this Pi path; other free skills can still cover a lot.
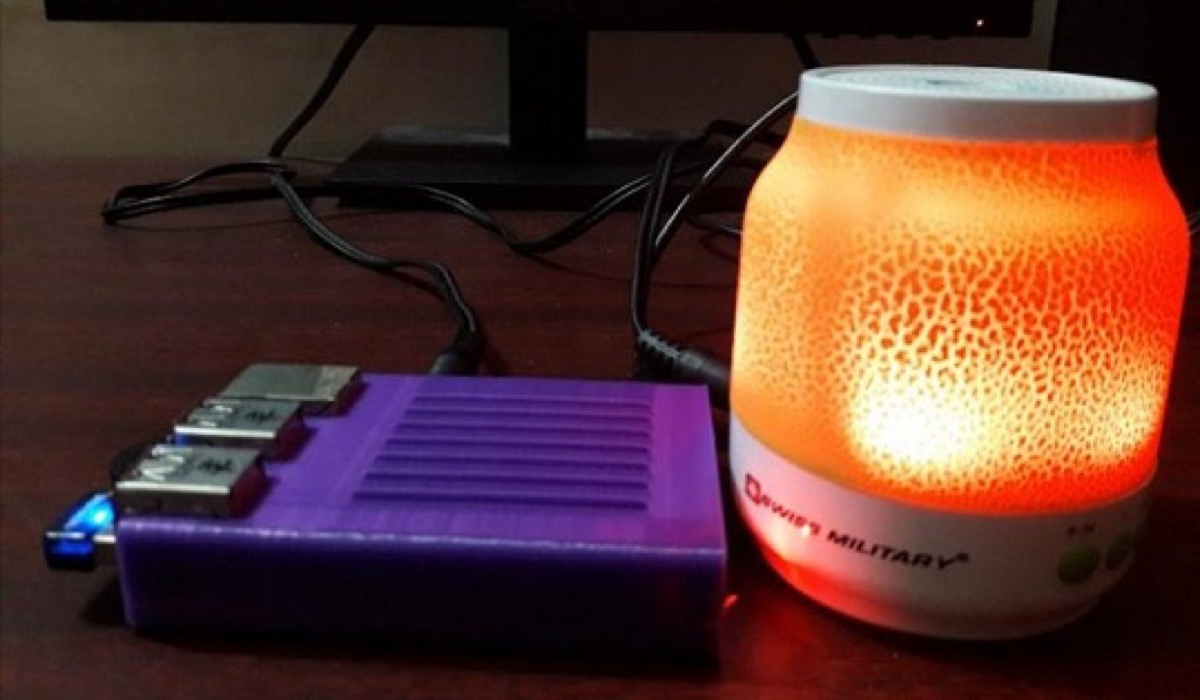
Extra hardware on the Pi
On top of the stock Pi modules I added:
- USB wireless microphone
- USB Wi-Fi (already built into this Pi model for internet)
- External speaker via the auxiliary audio jack
- A Raspberry Pi case I printed on my DIY 3D printer — see Meet my live DIY 3D printer
After wiring speaker and microphone I verified capture and playback with arecord and aplay before touching any Amazon setup.
Amazon developer account and device profile
Register a free Amazon Developer account and create a product profile for the Pi.
Register the product
- Sign in to the Amazon Developer console and open the Alexa tab
- Register a Product Type → Device
- Name the device type and display name (example:
My Pi AVS) → Next - On Security Profile, Create new profile
- Under General, set Security Profile Name and description → Next
- Note the generated Product ID, Client ID, and Client Secret
- Web Settings → Edit:
- Allowed Origins → Add:
https://rpi-ip:3000 - Allowed Return URLs → Add:
https://rpi-ip:3000/authresponse
- Allowed Origins → Add:
- Device Details — category, description, timeline, and
0for device count are fine for a personal build → Next
Install AVS sample app on the Pi
With the developer profile ready:
- Install
git - Clone the sample app:
git clone https://github.com/alexa/alexa-avs-sample-app.git- Run the installer (≈ 20 minutes, with interactive questions):
cd alexa-avs-sample-app
./automated_install.sh- Install Node.js (current LTS on the Pi) before the next steps
- Start the companion service (I used nohup so it stays up):
cd ~/Desktop/alexa-avs-sample-app/samples/companionService
npm start
That opens communication with Amazon and serves the AVS JavaScript sample on port 3000:
https://rpi-ip:3000- Install Maven, then in another terminal:
cd ~/Desktop/alexa-avs-sample-app/samples/javaclient
mvn exec:exec- When prompted to authenticate the device, choose Yes — a browser opens; sign in to Amazon and confirm tokens are ready
- Keep the advised command windows open
- Start the wake-word agent (Sensory or KITT.AI — I used Sensory):
cd wakeWordAgent/src
./wakeWordAgent -e sensory
Using it
Say “Alexa.” You should hear a beep when it is listening. Then ask things like:
- “What’s the weather?”
- “What is the current time in the USA?”
- “What are today’s major news highlights?”
| Layer | Role |
|---|---|
| USB mic + speaker | Capture and playback |
| Wake word (Sensory) | Local “Alexa” trigger |
| Companion service :3000 | OAuth / Amazon link |
| Java AVS client | Device session with Alexa |
| Pi + skills | Answers for IoT / home use |
Watch the build
Original walkthrough (also on my YouTube channel):
References
- Alexa AVS sample app (GitHub)
- Amazon Developer
- Tags from the original post:
#Alexa·#Echo·#raspberrypi - Related: Meet my live DIY 3D printer · Meet my 3018 RPi-controlled CNC machine
This piece was first published on 15 June 2018 as Meet My Raspberry Pi programmed Alexa, and is carried here under Technology as part of the digital journey archive.
Filed under
- Alexa
- Echo
- Raspberry Pi
- AVS
- DIY
- IoT